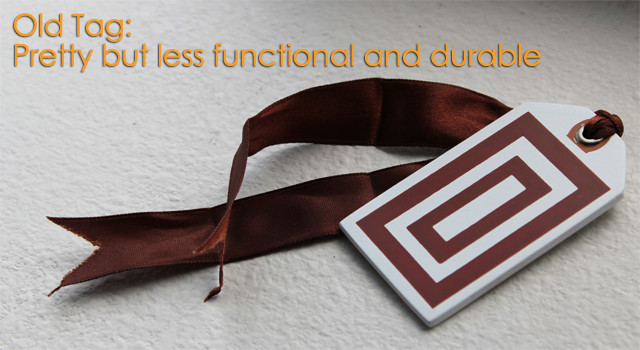
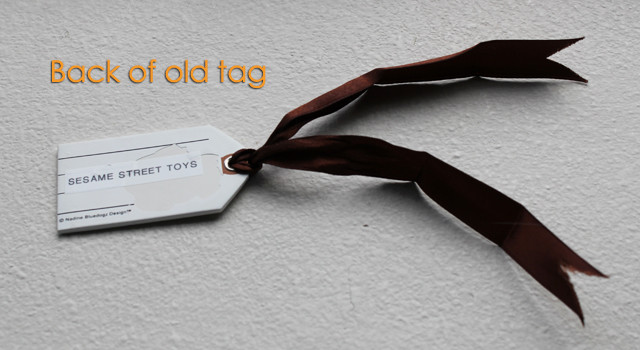
In a past post I talked about my playroom and how I organized it. This room is probably my proudest room in the house because it seems the most coordinated and organized. During the post, I talked about the taggies that I put on each of the bins so that I knew what went where. A few of you requested additional information on how I did them. To be honest, I liked how they looked before, but they weren’t exceptionally functional. They were just wooden tags with label maker labels on them tied with ribbons. WickedGirl didn’t like them too much, and kept untying them.
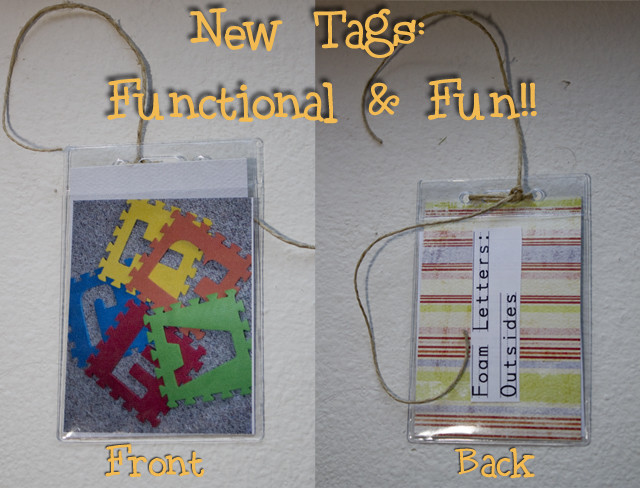
That was when I started on my formulation of new tags. I went to Office Depot and bought badge holders (like you would get if you went to a conference). I bought almost double what I would need, but I figure they’re going to get broken. They’re only plastic, and kids are not overly cautious with their toy bins. Then, I went to my scrapbook supplies and pulled out a couple of patterned card stock that I thought would look nice and cut it to slips that would slide into the badge holders. Out came my trusty label maker, and I marked the back of each of the card stock slips with one of the content categories that was previously on the wooden tags. Enter my big camera for some pictures of those contents. I printed the pictures on photo paper out of my inkjet printer, cut them to wallet size, and stuck them on the front of the card stock. Then I tied them to the bins. Now, when it’s time to clean up, WickedGirl can look at the picture on the front and know what to put in each bin. She is 27 months old next week, and she already wants to help. Obviously she can’t read, but this makes it easier for her to be a helper. The labels let other people know what we call the item when they ask her to help clean. Functional, cuter, and more durable. Yahoo!
