Even if you aren’t crafty, this project takes only a few minutes and gives you a creative decoration for a child’s room! When Girl was born, her Aunt Gee and Uncle Z gave her wooden initials. I made them into initial shadow boxes to hang on her bedroom wall using shadowboxes and fabric that matched her theme! Here’s how I did it:
What You Need:
Everything that I used came either as a gift purchased at Babies R Us or from JoAnn Fabric. You can shop wherever you like, but that’s where my stuff originated.
1) A shadow box frame in your desired size (one for each letter). I used a 10 x 10 inch boxes.
2) Enough fabric to cover the back of the boxes. In my case, I used 1.5 Fabric Quarters (available in the fabric section of JoAnn). They are 18 x 21 inch remnants usually used for quilting. Obviously the bigger the box you use, the more fabric you will require. Choose a fabric that is dark or thick enough to not see through.
3) A glue gun and glue sticks.
4) Scissors
5) The letters you’re going to use.

Step 1:
Take the back off of the shadow box and flip it over. Making sure you don’t put your fingers on the glass (fingerprints make for cleaning afterward), put the glass/box portion to the side.

Step 2:
Put the back of the box onto your fabric. Cut the fabric to a size that leaves about half to a full inch of extra all of the way around. With my boxes, I was able to cut my Fabric Quarter to 2 square wide by 2.5 square tall strips. That way I got two backdrops out of a single quarter. When I did it the first time, I just used three Fabric Quarters. I was just less economical that time around, I suppose.
 Step 3:
Stretch the fabric over the shadowbox back. Make sure that the hanging hook is on the side that you don’t cover. (What?! I did it wrong once and had to redo it. Don’t act like you’ve never made a mistake 🙂 ). How do you stretch it? I ran hot glue with my gun across one edge of the hard shadowbox back, then I folded and pressed down on the excess fabric edge. Then I went directly across the board and did the same on the opposite side, making sure to stretch the fabric tight across the front of the board. Then I did the top, and then the bottom, the same way. This results in a stretched piece of cut fabric on the board for the back of the shadowbox. Choose a fabric that is dark or thick enough to not see through. See the result below.
 Step 4:
Trim the excess fabric off of your corners so that they do not bulge when you reset the back into the shadowbox. Do this as shown below.

Step 5:
Hot glue your letter into the center of the board. This is going to take a bunch of hot glue. Move fast so that the glue doesn’t dry. Keep the glue on the middles of the fattest parts of the letters so that it doesn’t bleed out onto your fabric, but holds down the heaviest parts of the letter. Wait until the letter’s glue dries completely (about 5 minutes), then return the back of the shadowbox to it’s home. Wha-la! She is done! Repeat the process for however many letters you need to spell the word, or initials, and you’re done!

Tips and Alternative Applications:
You could use this process to spell “play” or “Imagine’ for a playroom, or “eat” for a kitchen, “create” or “design’ for a craft room, the full name of the child, the full last name of your family, or even just one letter as a gift to a friend.
You could decoupage a sheet of scrapbook paper over the letter to jazz up the white, and then use a plain background like the one above, to make an alternate look.
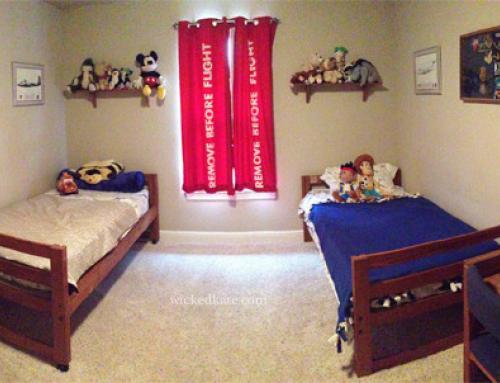
It may be prudent to make sure that the fabric you choose for the backgrounds of your children’s boxes match one another. In my case, I used red with polka dots in my daughter’s room and a flat blue for my boy’s room. I did this in case my children ever have to share a room.