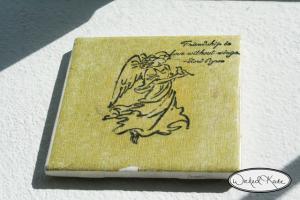
I made this coaster at a Stampin’ Up! party six years ago. When I did it, I didn’t really like the way my design was placed on the square, but I brought it home like a nice little doobie and put it on my end table in my bedroom. I figured that no one would ever see it there, and if I hated it, I could throw it away. It’s lived ever since, even through three moves. It’s super useful! I still smile when I realize that I almost tossed it before I gave it a chance. I think I may make more of them, but in a different pattern that I like. My idea? I am going to get five tiles, and put one letter of our last name on each. Then, I can put them out and people can take their letter, and know which cup is theirs. It’s a marker, AND a coaster that way. I’ll take pictures of those when I finish them. In my free time, right?! Anyhow, here is how I made the angel one so that you can get started on YOURS! If you make some, let me know how they turn out! Send a picture and I will put it up to share with the group!
You Will Need:
1 canister of Mod Podge (available at any craft store)
1 foam paint brush (foam square with a stick)
However many tiles you would like to make in whatever size you’d like to use for your coaster. I think mine were 4×4 white tiles and they are white on top. I made only one, but have heard you can get a box of them at Home Depot for less than 10 dollars that will make 10 or more.
4×4 pieces of cut paper with your desired pattern. If you desire to customize, be sure to use permanent markers/ink so that the customizations to not bleed when decoupaged.
What to Do:
1) Gather Supplies.
2) Cover one tile with a thick coat of Mod Podge.
3) Carefully center paper on top of coated tile. Spread and flatte the paper with your fingers and remove air bubbles.
4) Repeat steps 2 and 3 with the three additional tiles.
5) Return to the first tile you worked on and cover with a thick coat of Mod Podge. Be sure to brush all the way to the edges of the paper, this will seal the paper to the tile. Look and remove (by popping with a toothpick) any air bubbles.
6) Repeat step 5 with your additional tiles.
7) Allow to dry.
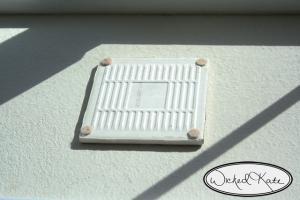
8) Add felt to corners by gluing/adhering to the bottom if you like to prevent scratching on surfaces while using your coasters.
Alternative:
You can also buy tiles that come with the design you like printed on them like these, and just add the foam to the corners of the bottom. No decoupaging, and wha’la they are done! Lol.
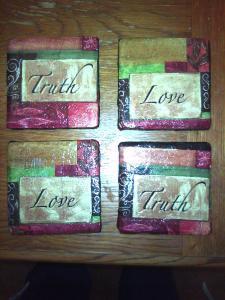 Here’s another set that my friend Wendy made at one of our MOPS meetings. These are beautiful! Great job Wendy!
Websites that also do this project:
Actual Post Date: March 23, 2011
